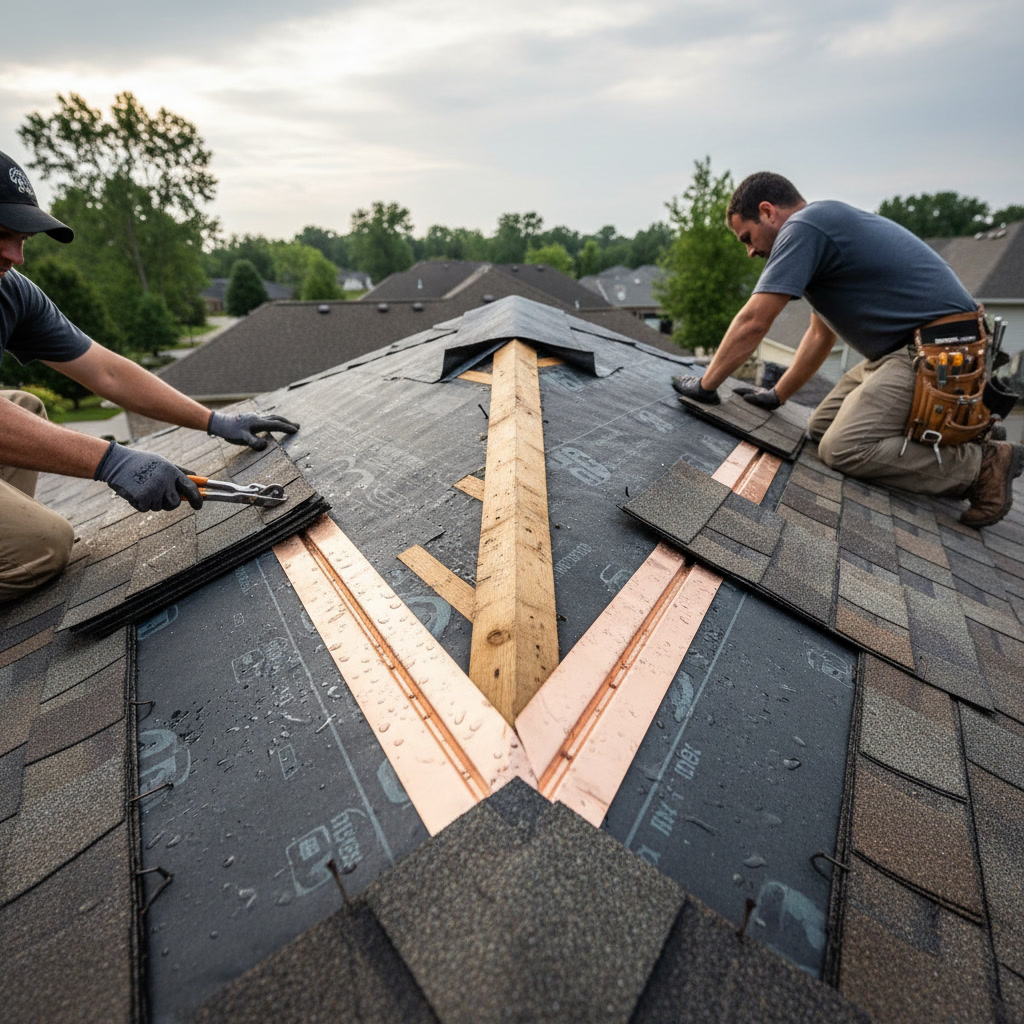
Roof valleys channel more water than any other section of your roof, concentrating runoff from two intersecting planes into a single pathway. Poor roof valley construction creates the most common source of residential leaks, with water penetrating beneath shingles when installation methods fail to account for increased volume and velocity. Proper valley installation requires specific techniques, quality materials, and attention to detail that generic roofing practices often overlook.
Understanding how valleys function and fail helps homeowners recognize problems early and make informed decisions during roof replacement or repair projects.
Why Valleys Handle the Heaviest Water Flow
Two roof planes meet at valleys, funneling all the water from both surfaces into a concentrated stream. During moderate rainfall, a 20-foot valley on a typical home channels approximately 120 gallons of water per hour, creating pressure and volume that flat roof sections never experience. This concentrated flow moves faster than water on open roof surfaces, increasing the chance that wind-driven rain will push beneath shingle edges.
The steeper your roof pitch, the faster water accelerates through valleys. Homes with complex roof designs featuring multiple valleys face proportionally higher leak risks because each intersection creates another vulnerable point where water concentrates.
Traditional Woven Valley Methods
Woven valleys interlock shingles from both roof planes, creating a braided pattern where materials cross the valley center. Installers alternate shingles from each side, weaving them together without cutting or exposing any underlying materials. This method provides redundant protection because water encounters multiple shingle layers regardless of flow direction.
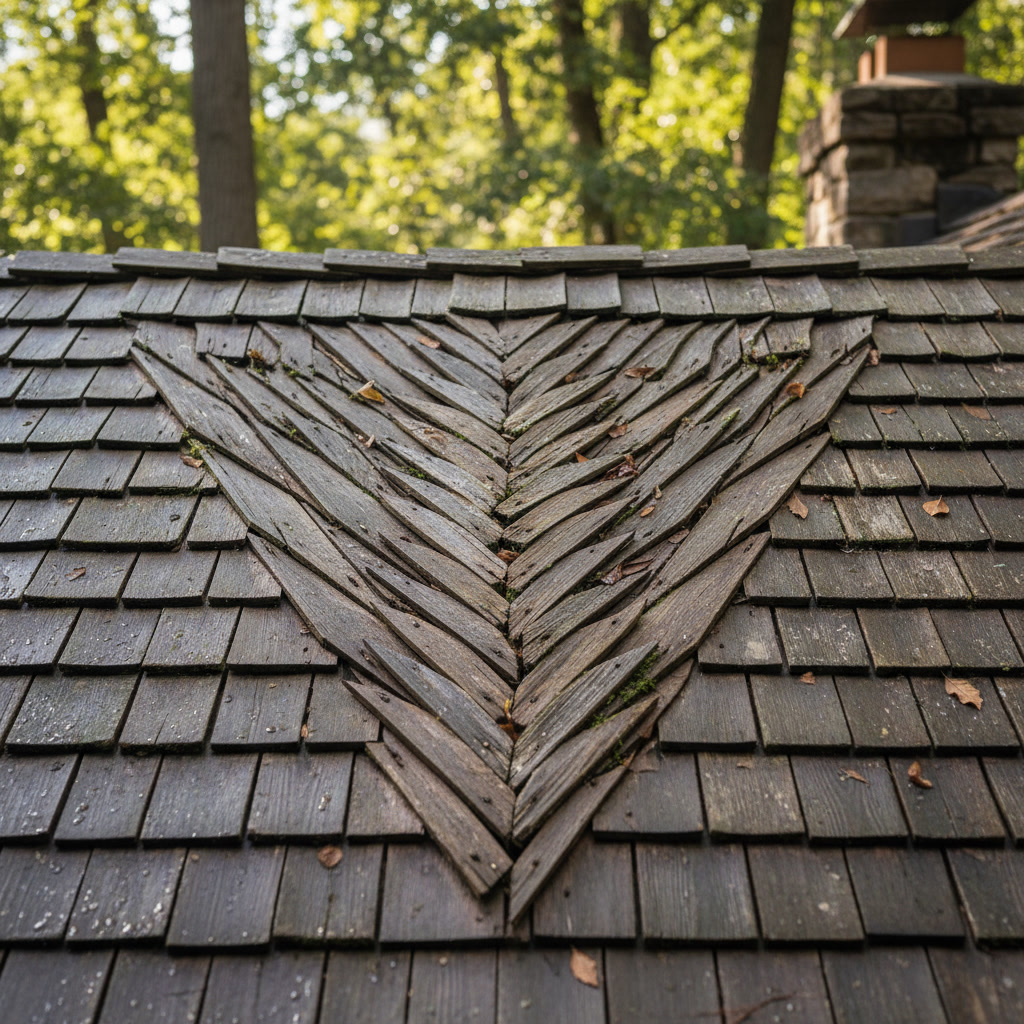
The woven technique works best with three-tab shingles that lie flat and flexible. Architectural shingles, which are thicker and more rigid, create bulky, uneven valleys when woven. Many manufacturers now void warranties when their dimensional shingles are installed using woven methods because the irregular surface traps debris and prevents proper water flow.
Closed-Cut Valley Installation in Gloucester Township Homes
Closed-cut valleys layer shingles from one roof plane completely over the valley, then cut shingles from the adjacent plane to meet at a specific offset from the valley center. The upper roof plane typically extends across the valley, while installers cut shingles from the lower plane two to three inches back from the centerline. This offset prevents water from exploiting the seam where cut edges meet the underlying layer.
Professional installers apply extra adhesive beneath cut edges to seal them against wind-driven rain. Without this critical step, high winds lift the cut edges during storms, allowing water to penetrate directly into the valley channel. Gloucester Township experiences nor’easters and summer storms that regularly test these vulnerable points.
Open Metal Valley Systems
Open valleys use metal flashing that remains visible down the valley center, with shingles cut back from each side to expose a channel typically four to six inches wide. Ice and water barrier membrane covers the valley first, followed by pre-formed metal flashing in aluminum, copper, or steel. Shingles terminate at the valley edge without overlapping the metal.
Metal valleys handle water volume more effectively than any shingled method because the smooth surface sheds water and debris without obstruction. Premium installations use 24-gauge steel or heavier materials that resist denting from falling branches or foot traffic during maintenance. The metal expands and contracts with temperature changes, so proper fastening techniques prevent warping that creates low spots where water pools.
Ice and Water Barrier Requirements
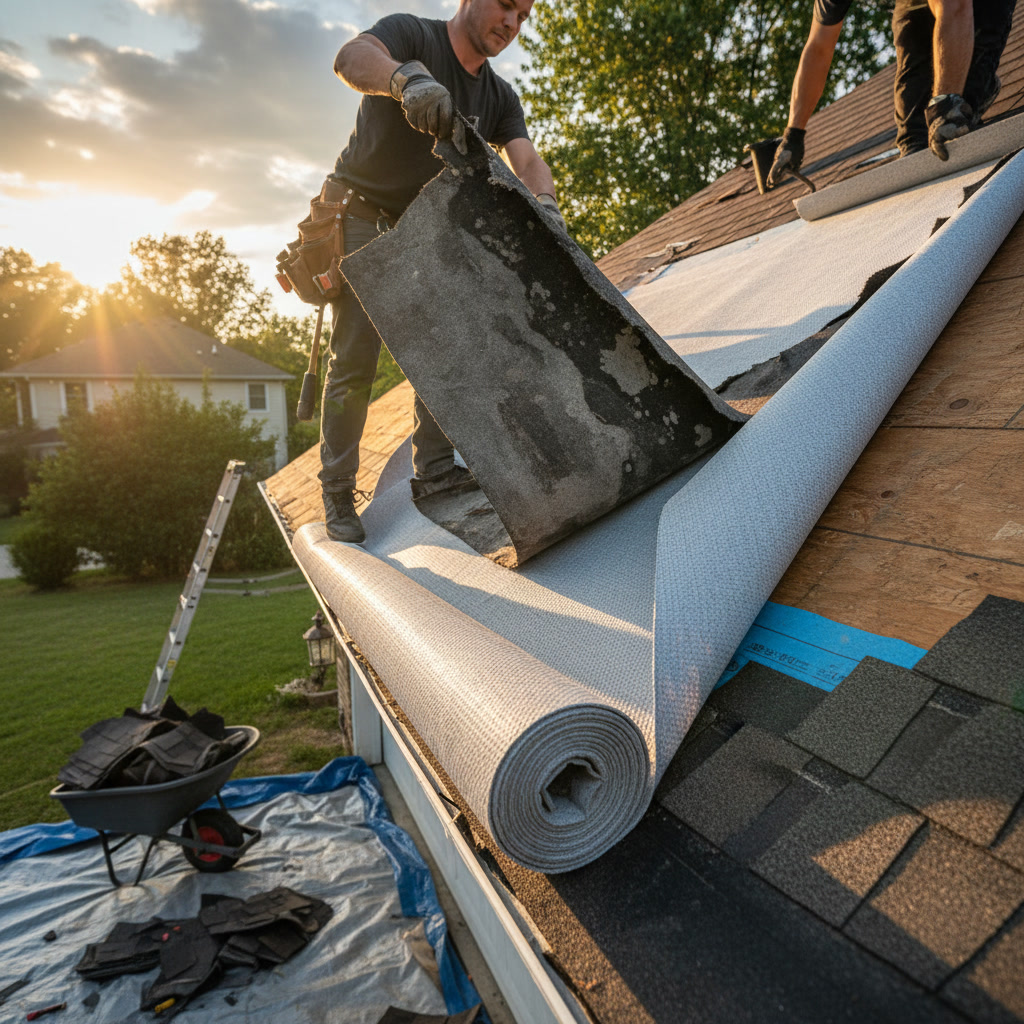
Every valley installation method requires ice and water barrier membrane as the foundation layer. This self-adhering, rubberized material seals around fasteners and bonds directly to roof decking, creating a waterproof barrier that protects even when outer layers fail. Current building codes mandate ice and water barrier extending at least 18 inches on each side of valley centerlines.
The membrane quality matters significantly. Premium products remain flexible in freezing temperatures and resist UV degradation during construction delays. Budget membranes become brittle after several years, cracking at stress points where roof planes meet. When scheduling roof repair work, confirming that contractors use manufacturer-certified ice and water barriers prevents future callbacks.
The Four Common Valley Failure Points
Valleys fail at predictable locations where installation shortcuts or material degradation create openings for water penetration:
- Insufficient underlayment overlap: When ice and water barrier sheets don’t overlap by the required six inches, seams separate as the roof settles, creating paths for water to reach decking.
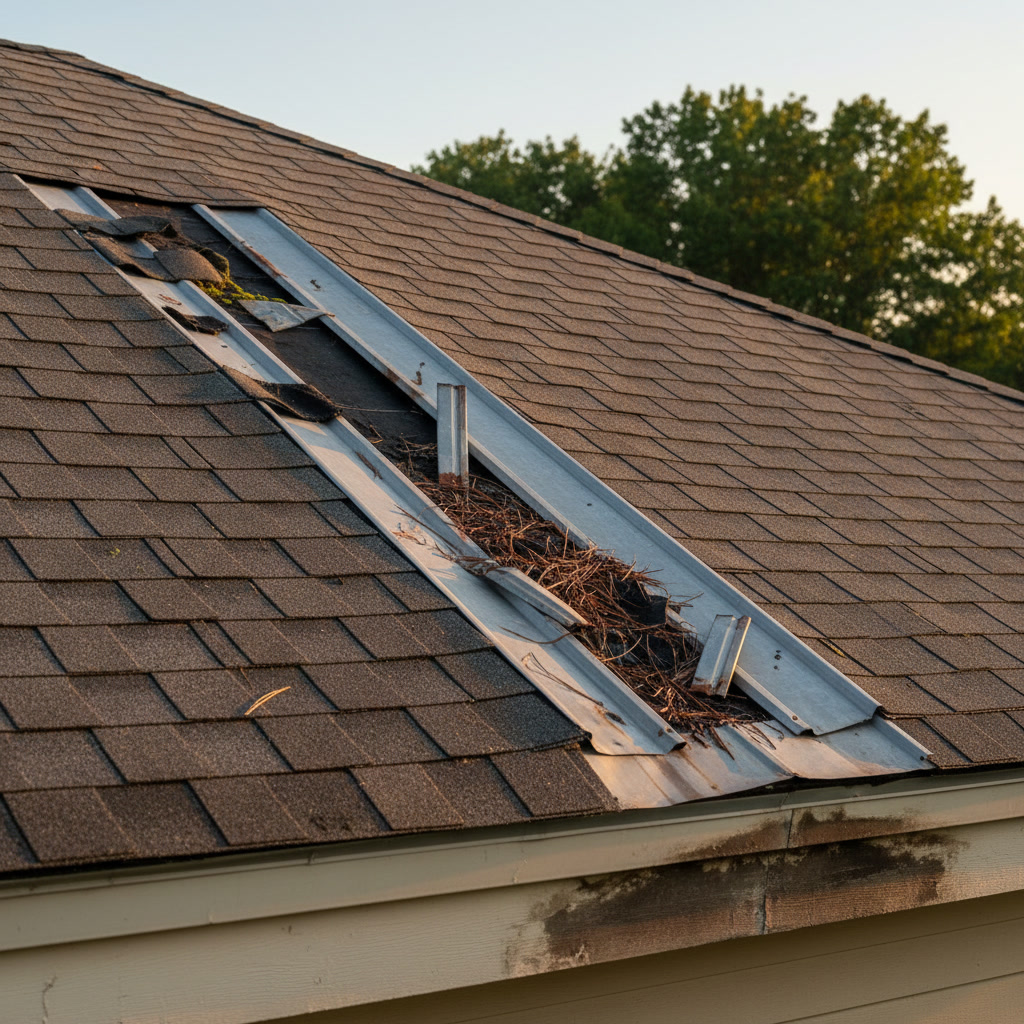
- Inadequate valley width: Narrow valleys less than four inches wide clog with leaves and debris, causing water to back up beneath shingles during heavy rain.
- Missing fasteners near valley edges: Shingles at valley perimeters require additional fasteners to resist wind uplift, but installers rushing to complete projects often skip these extra nails.
- Improper flashing termination: Valley metal must extend fully under ridge caps and starter courses at roof perimeters, or water follows the metal edge backward into the structure.
Debris Accumulation and Maintenance
Leaves, twigs, and asphalt granules wash into valleys and accumulate faster than on open roof sections. A two-inch debris dam across a valley redirects water sideways under shingle edges instead of down the intended channel. Fall leaf accumulation creates the highest risk period, particularly when wet leaves mat together into water-blocking masses.
Regular cleaning prevents debris dams from forming, but walking directly in valleys damages shingles and compresses the layers that provide waterproof protection. Professional maintenance crews use blowers and soft brushes to clear valleys without foot traffic. Installing leaf guards in gutters prevents downstream clogs but doesn’t eliminate the need for periodic valley inspection and cleaning.
How Flashing Quality Affects Longevity
Metal valley flashing quality determines whether your valleys last 15 years or 50. Paint-grip steel valleys cost less initially but develop rust spots within a decade, particularly where installers cut or drill through protective coatings. Aluminum resists corrosion effectively but dents easily when tree branches fall or when maintenance workers step on it during repairs.
Copper valleys represent the premium choice, developing a protective patina that prevents corrosion while lasting 60 years or more. The material cost runs three to four times higher than steel, but the longevity and aesthetic appeal justify the investment on higher-value homes. Proper installation matters more than material selection because even copper fails when installers use incorrect fastening patterns or inadequate underlayment preparation.
Temperature Cycles and Expansion Stress
Metal valley flashing expands and contracts with temperature swings that can exceed 100 degrees between summer afternoons and winter nights. A 20-foot copper valley expands approximately half an inch between temperature extremes, creating stress at fastener points. Installers must use fastening patterns that accommodate this movement without allowing the metal to pull loose or buckle.
Rigid fastening at frequent intervals prevents movement, causing the metal to oil-can or develop waves that trap water in low spots. Proper technique secures valley metal at the top and allows controlled movement toward the bottom, using fasteners with rubber washers that permit expansion without creating leak points. This installation detail separates experienced professionals from general contractors who occasionally perform roofing work.
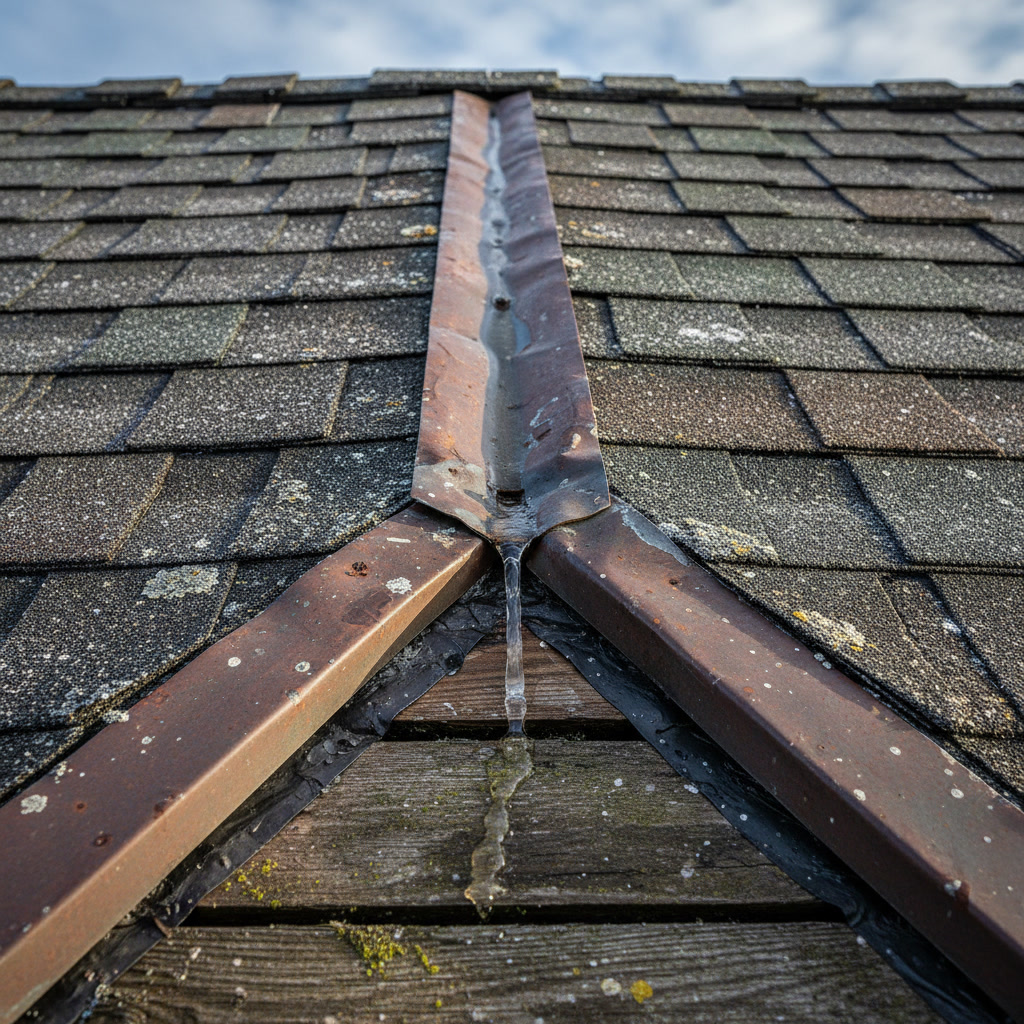
Shingles adjacent to valleys also experience thermal stress as the dark metal absorbs more heat than surrounding roof surfaces. This temperature differential accelerates shingle aging within six inches of valley edges, causing premature cracking and granule loss. Residential roofing projects should account for this phenomenon by using premium shingles with enhanced UV protection in valley-heavy designs.
Warning Signs Your Valleys Need Attention
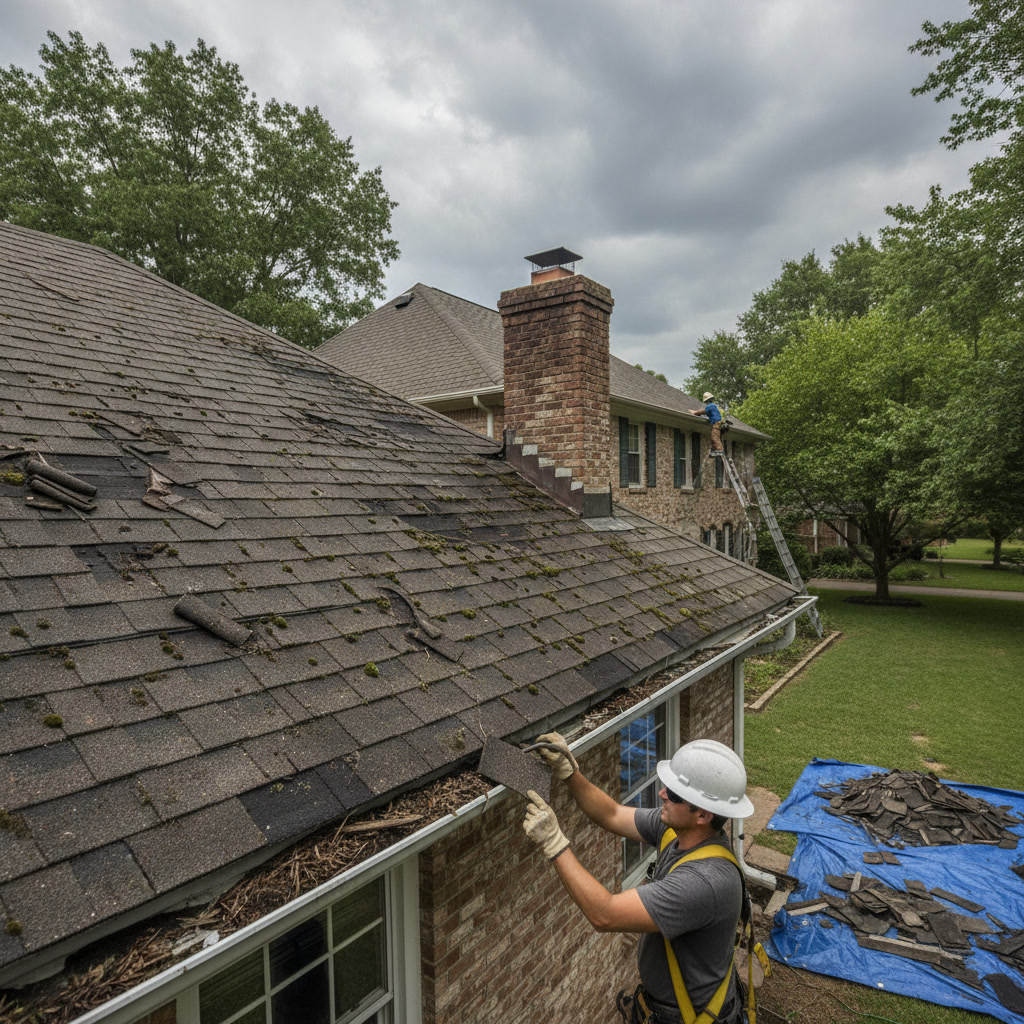
Recognizing early warning signs prevents minor valley issues from becoming expensive interior damage. Water stains on ceilings near where roof planes intersect indicate active leaks that will worsen with each rain. Curled or missing shingles along valley edges show that water is getting beneath the surface layer and lifting materials from below.
Visible rust spots on metal valleys signal that protective coatings have failed and the material will soon develop holes. Granules collecting at the bottom of valleys or in gutters indicate advanced shingle deterioration that compromises waterproofing. When multiple warning signs appear simultaneously, complete roof replacement becomes more cost-effective than ongoing repairs.
Protecting Your Home’s Most Vulnerable Areas
Valleys concentrate water flow and stress into narrow channels where installation quality directly determines whether your roof protects or fails. Proper valley installation requires specialized knowledge, quality materials, and meticulous attention to details that generic roofing practices overlook. Understanding these vulnerable areas helps you ask informed questions when evaluating contractors and recognize problems before they cause interior damage.
Stanley & Sons Roofing applies decades of specialized experience to every valley installation, using manufacturer-certified techniques and premium materials that provide long-term protection. Our certified technicians stay current with evolving best practices and building code requirements, ensuring your roof valleys perform reliably through severe weather and temperature extremes.
If you’ve noticed warning signs in your roof valleys or want a professional assessment of your home’s most vulnerable areas, contact our team at +18562279555 to schedule a comprehensive inspection and receive expert recommendations tailored to your specific roof design.