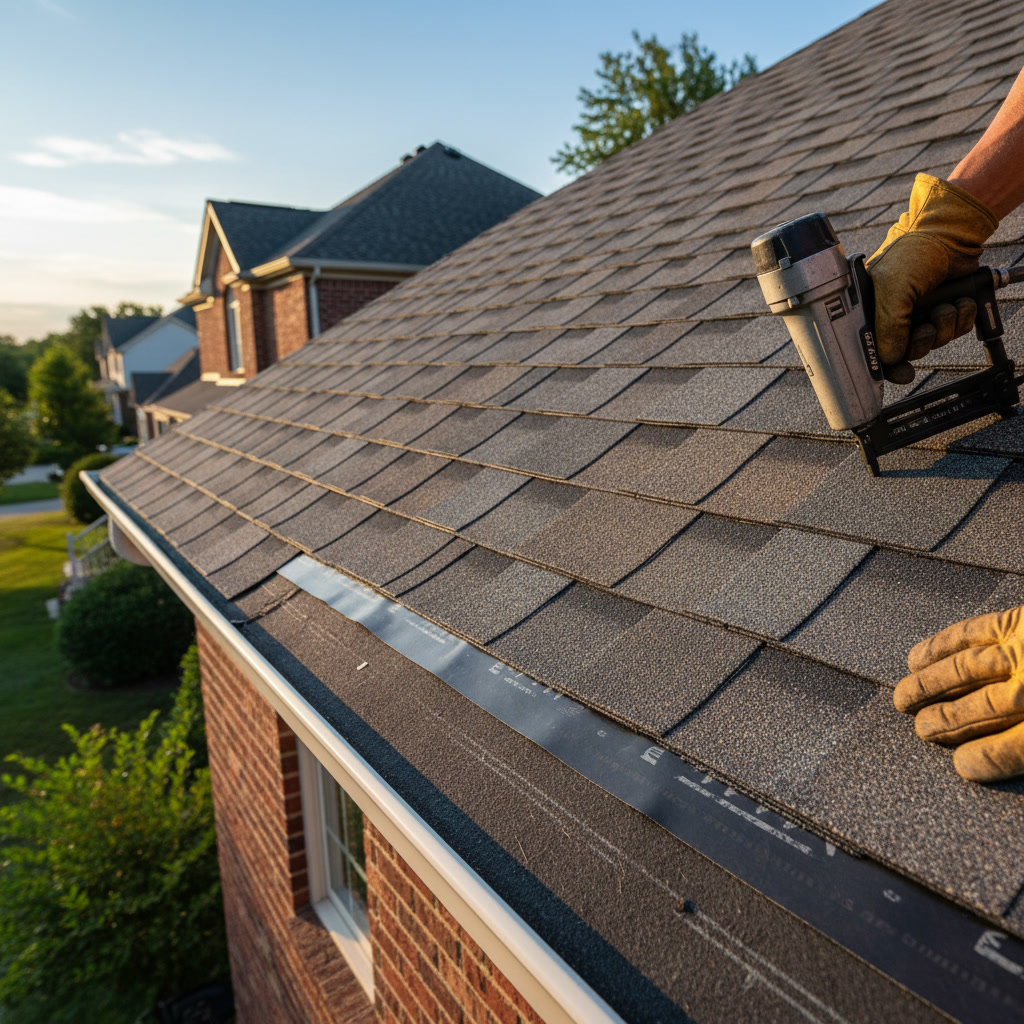
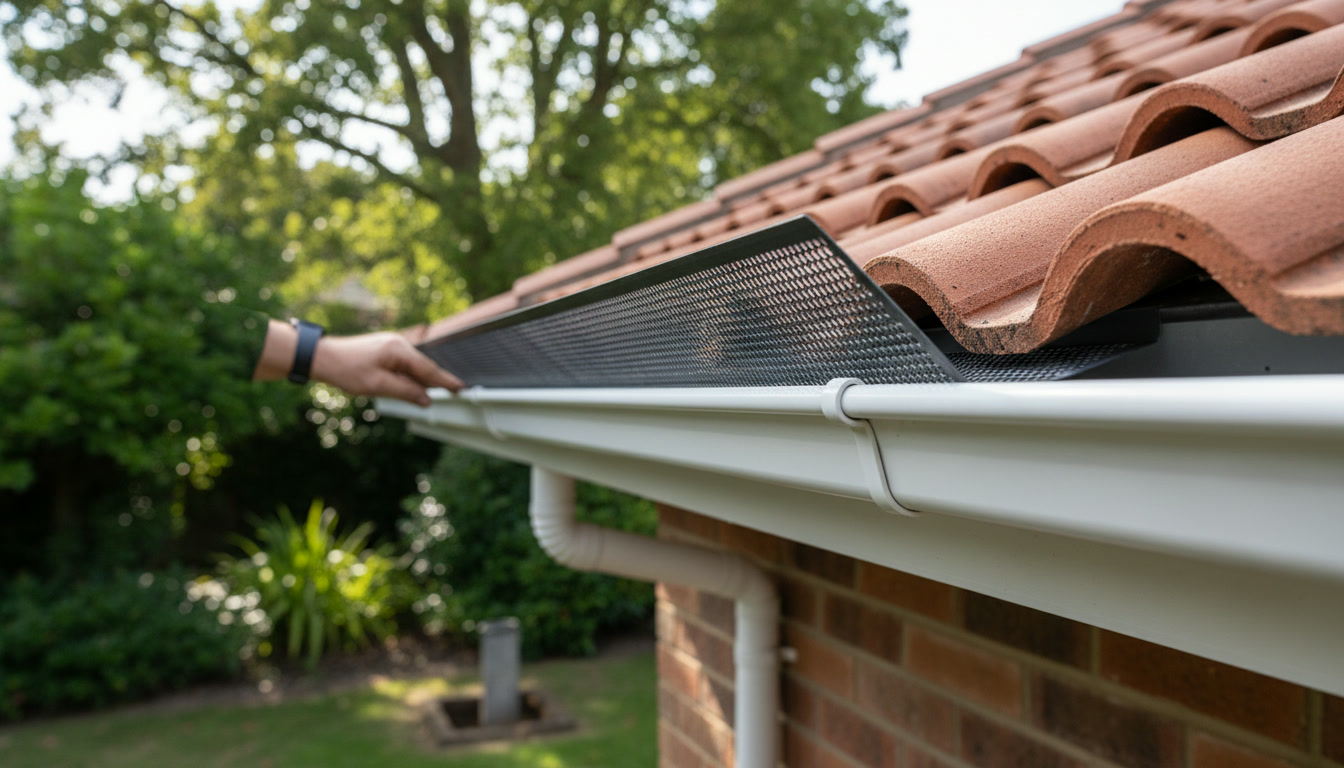
Leaf guards attach to existing gutters through several proven methods, including snap-on brackets, screw-mounting, and under-shingle installation. Most quality leaf guard systems work with standard five-inch and six-inch residential gutters, though compatibility depends on your gutter material, profile, and condition. Understanding how leaf guards attach helps homeowners make informed decisions about protecting their drainage systems from debris accumulation.
Why Gutter Protection Systems Matter for Home Maintenance
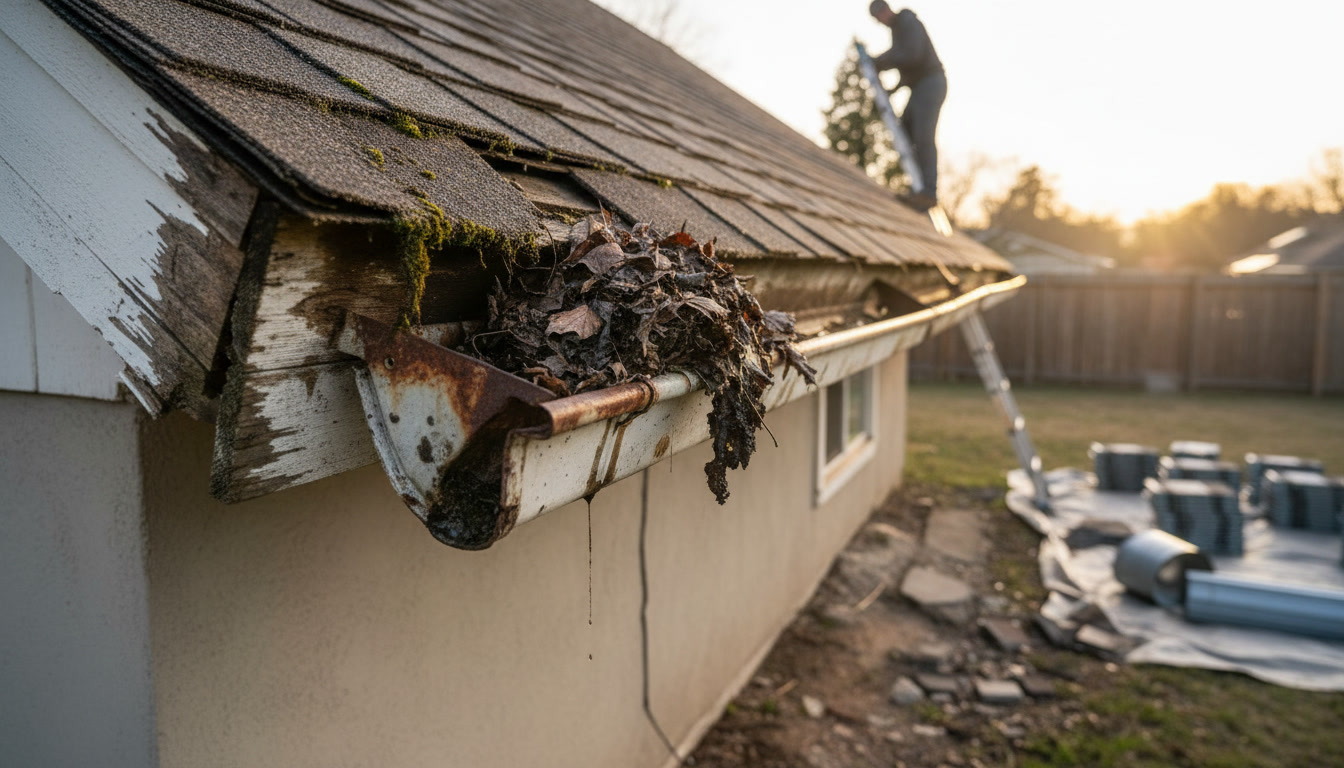
Clogged gutters create a cascade of problems that affect your entire home. Water overflow damages fascia boards, rots soffits, floods basements, and destroys landscaping. When gutters fill with leaves and debris, they become too heavy and pull away from the house, requiring costly repairs. Homeowners typically clean gutters two to four times per year, spending hours on ladders in dangerous conditions.
Protection systems eliminate this maintenance burden while safeguarding your property investment. They keep water flowing properly away from foundations and prevent ice dams during winter months. The right protection extends gutter lifespan by preventing rust and corrosion caused by decomposing organic matter sitting in damp channels.
The Standard Gutter Profile and Why It Matters
Most residential properties use K-style gutters, named for their profile resembling the letter K when viewed from the side. These gutters measure either five inches or six inches across the top opening. The K-style design became standard because it holds more water than older half-round gutters and complements modern home architecture.
Half-round gutters appear on historic homes and some contemporary designs seeking a traditional aesthetic. These semicircular channels require different attachment methods than K-style systems. Box gutters, built into the roof structure itself, present unique challenges and typically need custom fabrication rather than off-the-shelf products.
Snap-On Bracket Attachment Systems
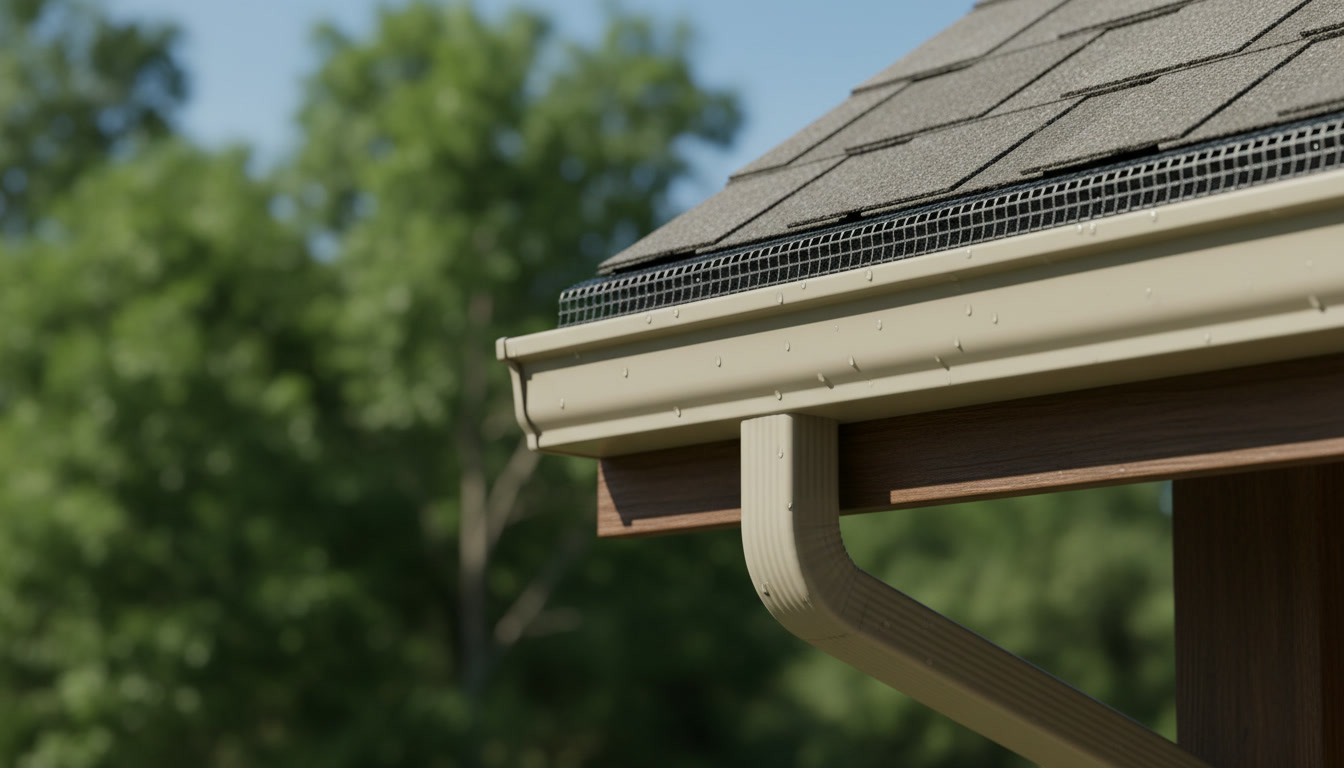
Snap-on systems use spring-loaded clips or hooks that grip the front and back edges of your gutter channel. These brackets require no drilling or permanent modification to existing gutters. Installation involves sliding the guard into position and pressing down until clips engage both the front lip and rear edge.
This method works best on gutters in excellent condition with straight, undamaged edges. Bent or warped gutter lips prevent proper engagement, allowing guards to pop loose during storms. Quality snap-on systems include multiple attachment points per section, typically every 12 to 18 inches, preventing sagging between supports.
The primary advantage is reversibility. If you need to access gutters for roof repair work or inspection, snap-on guards remove in minutes without leaving holes or damage. This flexibility appeals to homeowners who want protection but worry about permanent alterations.
Screw-Mount Installation Methods
Screw-mounted guards attach directly to the gutter lip or fascia board using self-tapping screws. This creates the strongest possible connection, preventing wind uplift and heavy snow loads from dislodging the protection system. Installers drill small pilot holes, then drive stainless steel or coated screws through pre-drilled holes in the guard material.
Professional installation spaces screws every 16 to 24 inches along the gutter run. Over-tightening damages both the guard and gutter, while under-tightening allows movement that enlarges holes and creates leaks. Experienced technicians know the precise torque required for each material combination.
This method accommodates slightly imperfect gutters better than snap-on systems. Even if the gutter lip is slightly bent, screws can still create secure attachment points. The permanence means removal leaves small holes, though these rarely cause functional problems if you later decide to switch systems.
Under-Shingle Integration in Gloucester Township Homes
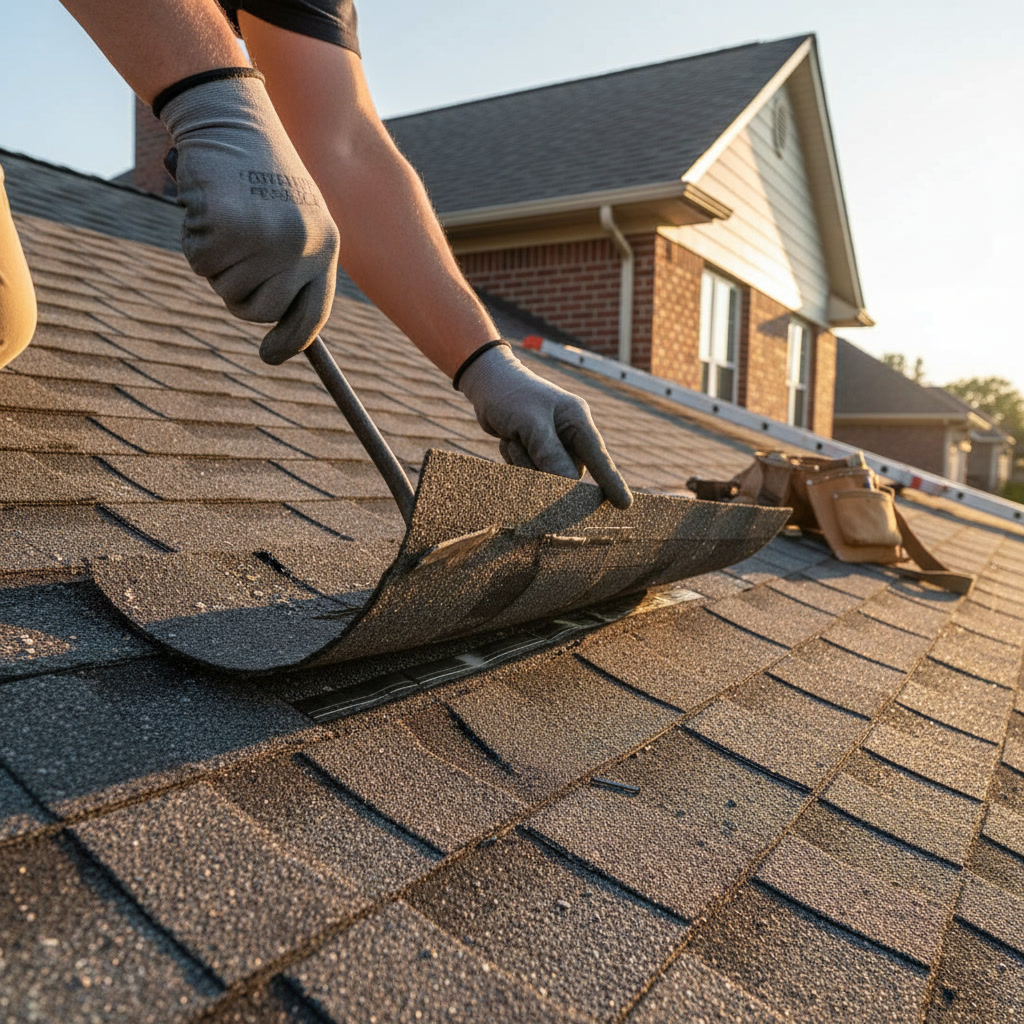
The most secure attachment method slides the back edge of the guard under the first course of roof shingles. This creates a continuous connection between your roof and gutter system, making the guard essentially part of the residential roofing structure. Water flows from shingles directly onto the guard surface with no gap where debris can enter.
Installation requires carefully lifting shingle edges without breaking the seal or damaging the roofing material. The guard back edge slides six to eight inches under the shingles, then installers add screws through the front edge into the gutter lip. This dual-point attachment handles extreme weather conditions that defeat single-point systems.
One expert insight that most homeowners never consider: under-shingle installation should happen during moderate temperatures between 50 and 80 degrees Fahrenheit. Shingles become brittle in cold weather and lift easily but crack when bent. In hot weather, they become too flexible and the adhesive strips reseal immediately, making it nearly impossible to slide guards underneath without causing damage.
Material Compatibility Between Guards and Gutters
Aluminum gutters, the most common residential type, accept virtually any guard system. The metal is soft enough to drill easily but strong enough to hold screws securely. Vinyl gutters require more care because over-tightening screws cracks the material. Installers use larger washers to distribute pressure across more surface area.
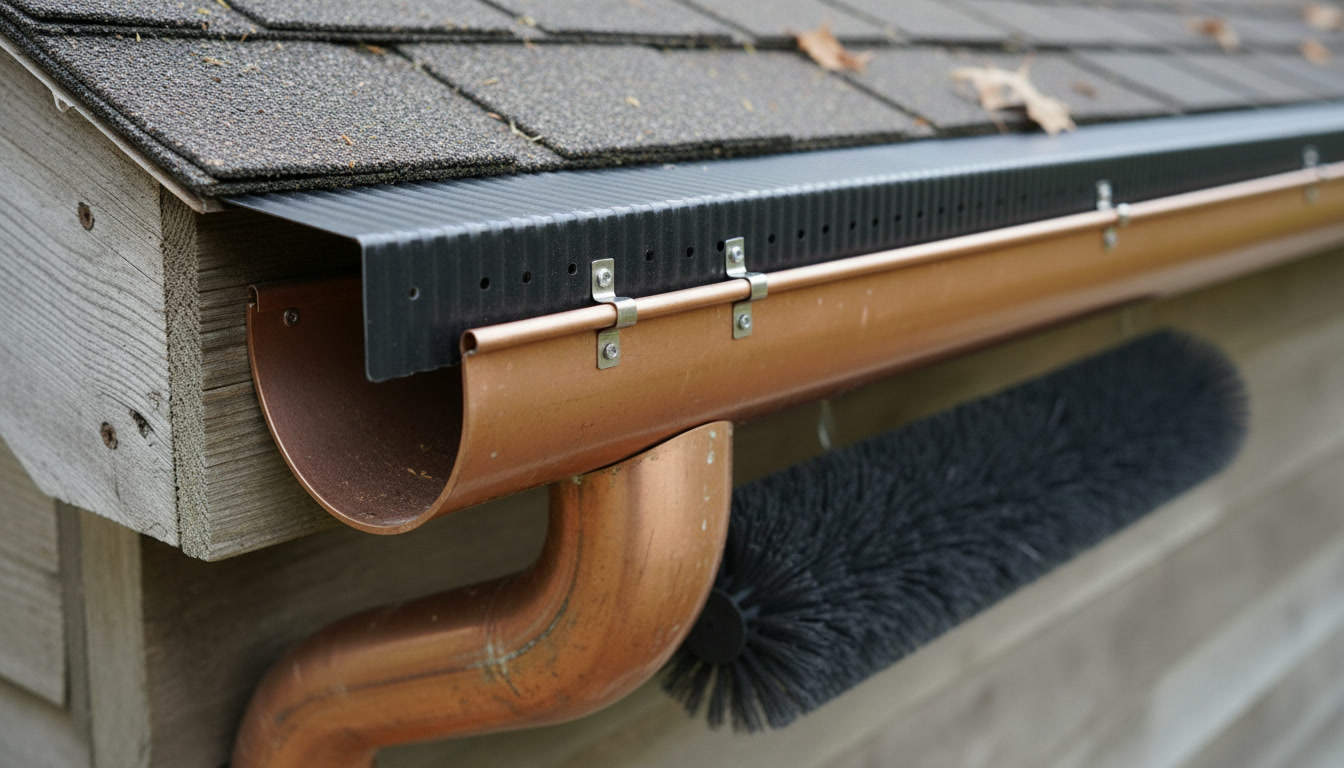
Steel and copper gutters present unique challenges. Steel requires stainless steel fasteners to prevent galvanic corrosion where dissimilar metals touch. Copper gutters need copper or brass fasteners for the same reason. Using incorrect fastener materials creates electrochemical reactions that corrode both the gutter and attachment points within months.
Older gutters with deteriorated surfaces may not support any attachment method reliably. If your gutters show rust-through, separating seams, or significant sagging, replacement makes more sense than adding guards to a failing system.
Guard Types and Their Specific Attachment Requirements
Micro-mesh guards feature stainless steel screen stretched across a frame. The frame attaches using any of the three main methods described above. The mesh must sit at a slight angle to encourage debris to slide off rather than accumulate. Flat installation defeats the self-cleaning function.
Reverse-curve or surface-tension guards rely on water adhesion to pull liquid around a curved nose while debris falls past. These require precise positioning relative to the roof edge. Too high and water shoots over them, too low and they catch debris they should shed. The back edge must integrate under shingles for proper function.
Foam inserts sit inside the gutter channel rather than attaching to edges. While technically not requiring attachment, they need gutters with consistent width and depth. Warped or non-standard gutters leave gaps where debris enters. These systems work differently than surface guards and suit specific situations rather than serving as universal solutions.
Five Steps Professional Installers Follow
First, technicians inspect existing gutters for structural integrity, checking hangers, seams, pitch, and overall condition. This assessment determines whether gutters can support guards or need repair first. Second, they clean gutters completely, removing all debris and flushing downspouts. Guards installed over existing debris trap moisture and accelerate deterioration.
Third, installers measure each gutter section precisely, accounting for corners, end caps, and obstacles like downspout openings. Guards require custom cuts around these features. Fourth, they position the first section and secure it using the appropriate method for that guard type and gutter material. Starting at one end and working systematically prevents measurement errors.
Fifth, they seal all joints and check water flow. Professional installations include testing with a hose to verify water enters gutters properly and flows to downspouts without overflow. This final verification step catches installation errors before the crew leaves your property.
When Existing Gutters Cannot Support Guards
Gutters with severe sag cannot support guards effectively. The protection system follows the sag, creating low spots where water pools instead of draining. Correcting the pitch requires adjusting or replacing hangers, work that should happen before guard installation. Some homeowners discover during the installation process that they need gutter system repairs before protection makes sense.
Undersized gutters on homes with large roof areas or steep pitches overwhelm easily during heavy rain. Adding guards to inadequate gutters does not solve the underlying capacity problem. In these cases, upgrading to six-inch gutters during guard installation prevents future overflow issues.
Custom or non-standard gutter profiles may not accommodate off-the-shelf guard systems. Box gutters, European-style half-rounds with unusual dimensions, and gutters integrated into decorative cornice work often require custom-fabricated solutions. These cost more but provide the same protection benefits as standard applications.
Performance Factors Beyond Attachment Method
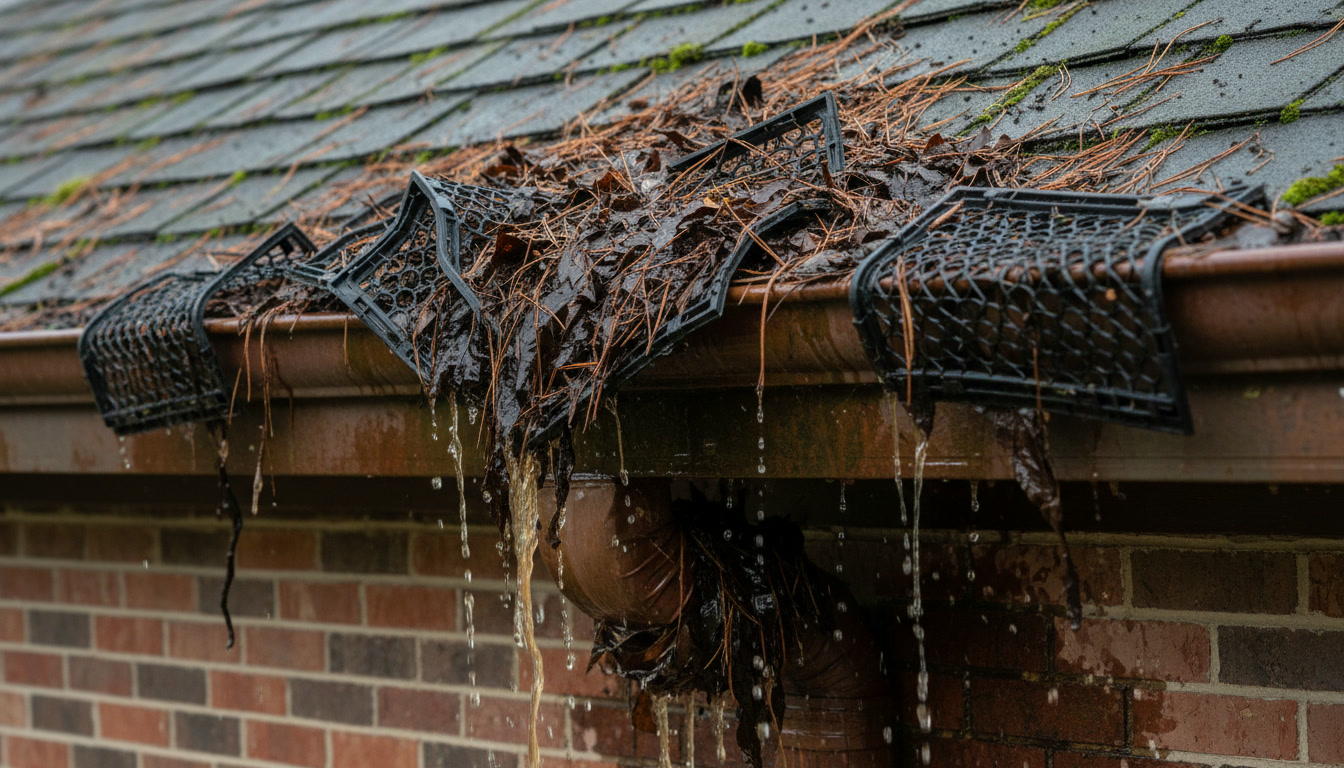
Even perfectly attached guards fail if the design does not match your environment. Homes surrounded by pine trees need mesh fine enough to block needles, which differ from the larger leaves oak trees drop. The attachment method matters less than choosing a guard design appropriate for your specific debris type.
Roof pitch affects guard performance significantly. Steep roofs accelerate water speed, requiring guards that can handle high-velocity flow without overshooting. Shallow pitches create slower water movement, where surface tension systems excel but mesh screens may hold water rather than letting it drain quickly.
Valley placement impacts debris accumulation patterns. Roof valleys concentrate both water and debris at specific gutter sections. These high-load areas may need reinforced attachment or more frequent inspection even with guards installed. Understanding your roof’s specific characteristics helps predict where protection systems face the greatest challenges.
Making the Right Choice for Your Home
The best attachment method depends on your specific situation rather than following a universal recommendation. Snap-on systems suit homeowners who want DIY installation and maximum flexibility. Screw-mount works for those prioritizing strength and durability. Under-shingle integration provides the most comprehensive protection but requires professional expertise to avoid roof damage.
Gutter condition plays the deciding role in many cases. Excellent gutters accept any method, while compromised systems may need replacement before guards become viable. Professional assessment identifies limitations that homeowners often miss, preventing wasted investment in guards attached to gutters approaching failure.
Stanley & Sons Roofing evaluates both your gutter system and surrounding environment to recommend the attachment method that delivers lasting protection. Our technicians understand how material compatibility, roof design, and debris types interact to determine which approach serves your home best.
If you are ready to protect your gutters with a professionally installed leaf guard system, Stanley & Sons Roofing brings the expertise to ensure proper attachment and long-term performance. Our team serves homeowners throughout the region with solutions tailored to each property’s specific needs. Contact us at +18562279555 to schedule an evaluation and discover which leaf guard attachment method works best for your home.