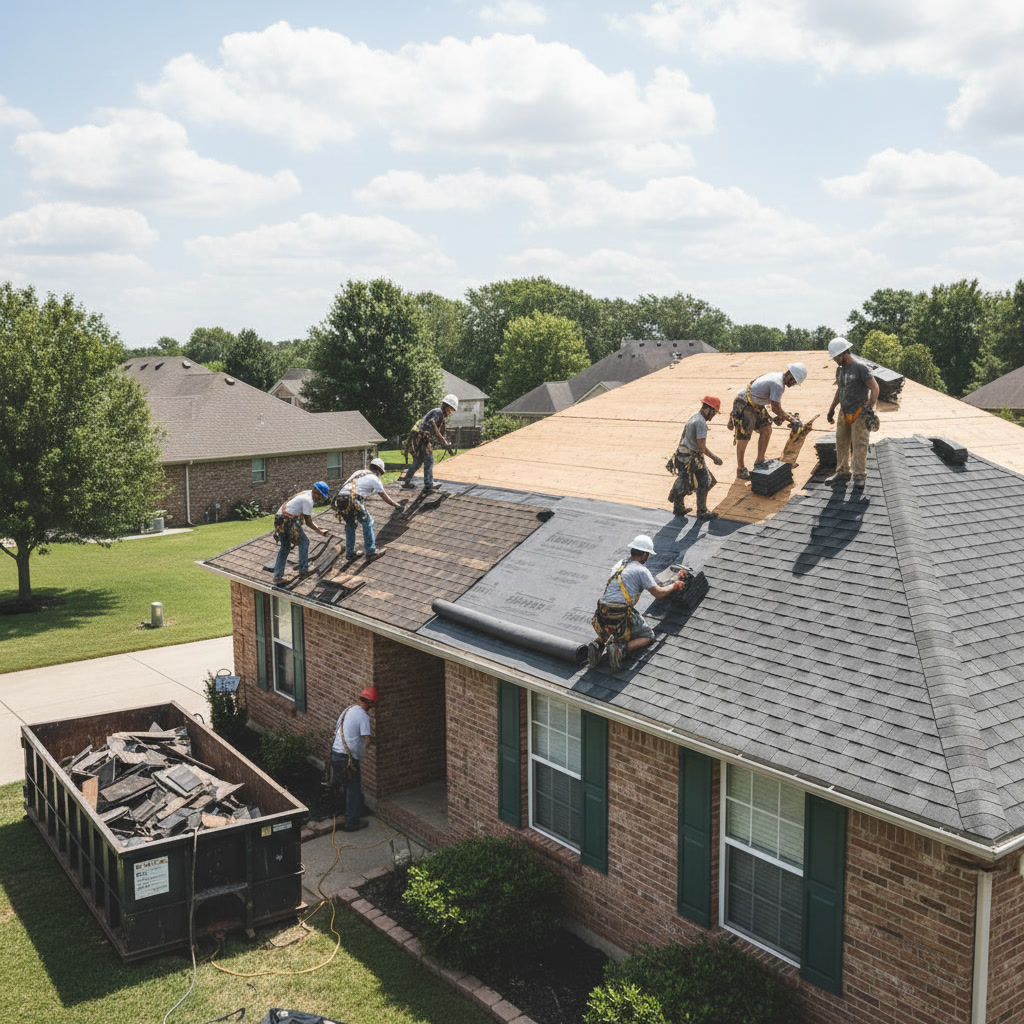
A residential roof replacement involves multiple phases, from initial inspection and material selection through tear-off, installation, and final cleanup. The roof replacement process typically takes three to seven days depending on roof size, weather conditions, and complexity of the project. Understanding each stage helps homeowners prepare their property and know what to expect during this significant home improvement investment.
Why Homeowners Replace Their Roofs
Most residential roofs reach the end of their functional lifespan after 20 to 30 years, depending on material quality and weather exposure. Signs that replacement is necessary include widespread shingle curling, missing granules across large areas, multiple leaks in different locations, and visible sagging in the roof deck. Storm damage from hail or high winds often accelerates deterioration, making replacement more urgent than planned.
Energy efficiency concerns also drive replacement decisions. Older roofing systems lack modern ventilation features and reflective materials that reduce cooling costs. Homeowners preparing to sell often invest in new roofs because buyers view them as essential rather than optional, and appraisers account for roof condition in property valuations.
The Pre-Installation Inspection and Estimate
Professional contractors begin with a detailed roof inspection that examines shingle condition, flashing integrity, ventilation adequacy, and structural deck stability. This assessment identifies hidden problems like rotted plywood decking or inadequate attic ventilation that must be addressed during replacement. Inspectors check for proper water drainage patterns and evaluate whether chimney flashing, pipe boots, and other penetrations need upgrading.
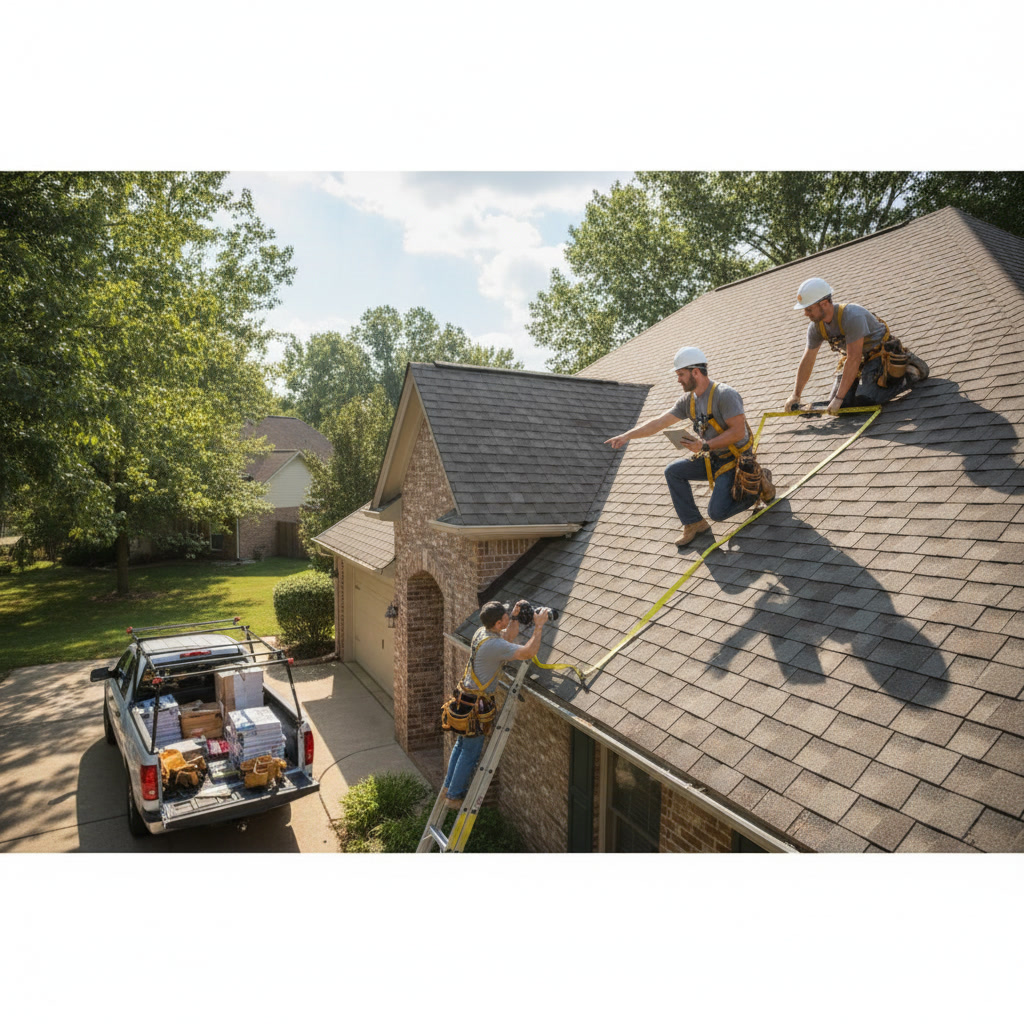
The written estimate should itemize material costs, labor expenses, disposal fees, and any structural repairs discovered during inspection. Detailed estimates specify shingle brand and model, underlayment type, ice and water shield coverage, and warranty terms. Homeowners should verify that estimates include permits, dumpster rental, and protection for landscaping and property during the project.
Selecting Materials and Scheduling Your Project
Asphalt shingles dominate residential roofing because they balance affordability, durability, and aesthetic variety. Architectural shingles with 30 to 50-year warranties cost more than three-tab shingles but provide superior wind resistance and dimensional appearance. Color selection affects home value and energy efficiency, with lighter shades reflecting more heat in warm climates.
Scheduling depends on weather patterns and contractor availability. Spring and fall represent peak seasons when mild temperatures and dry conditions create ideal installation environments. Summer heat makes shingles more pliable and easier to seal, while winter installations require special cold-weather adhesives and careful handling of brittle materials. Most contractors book projects two to six weeks in advance during busy seasons.
Protecting Your Property Before Work Begins
Homeowners should remove vehicles from driveways and garages to provide clear access for delivery trucks and dumpsters. Contractors typically place protective tarps over landscaping, pool equipment, and outdoor furniture near the house perimeter. Inside the home, vibrations from tear-off work can dislodge wall decorations, so removing fragile items from walls and shelves prevents damage.
Attic spaces should be cleared of stored items to allow inspectors access to decking from below. Pets and children need alternative arrangements during noisy work hours, typically from 7 AM to 6 PM. Notify immediate neighbors about the project timeline, as noise and debris are unavoidable despite protective measures.
Step-by-Step: The Complete Tear-Off
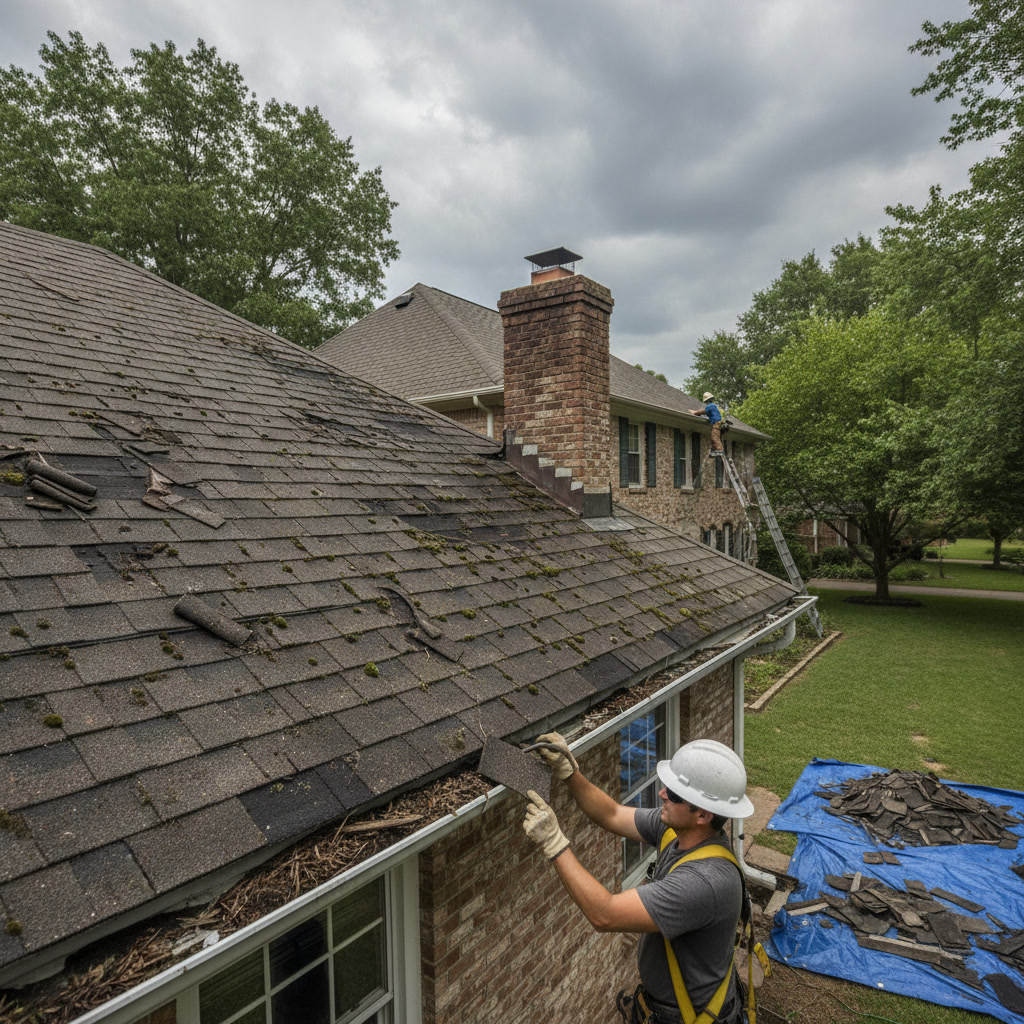
Removal crews start by stripping old shingles, underlayment, and flashing down to bare wood decking. Workers use specialized roof shovels and pry bars to lift material efficiently while minimizing deck damage. Magnetic rollers collect nails from yards and driveways multiple times daily, though stray fasteners remain a concern for weeks after completion.
The tear-off phase generates significant debris. A typical 2,000-square-foot roof produces two to four tons of waste requiring large dumpsters positioned for easy access. Complete removal usually takes one full day for average-sized homes, though complex roofs with multiple valleys, dormers, or steep pitches require additional time.
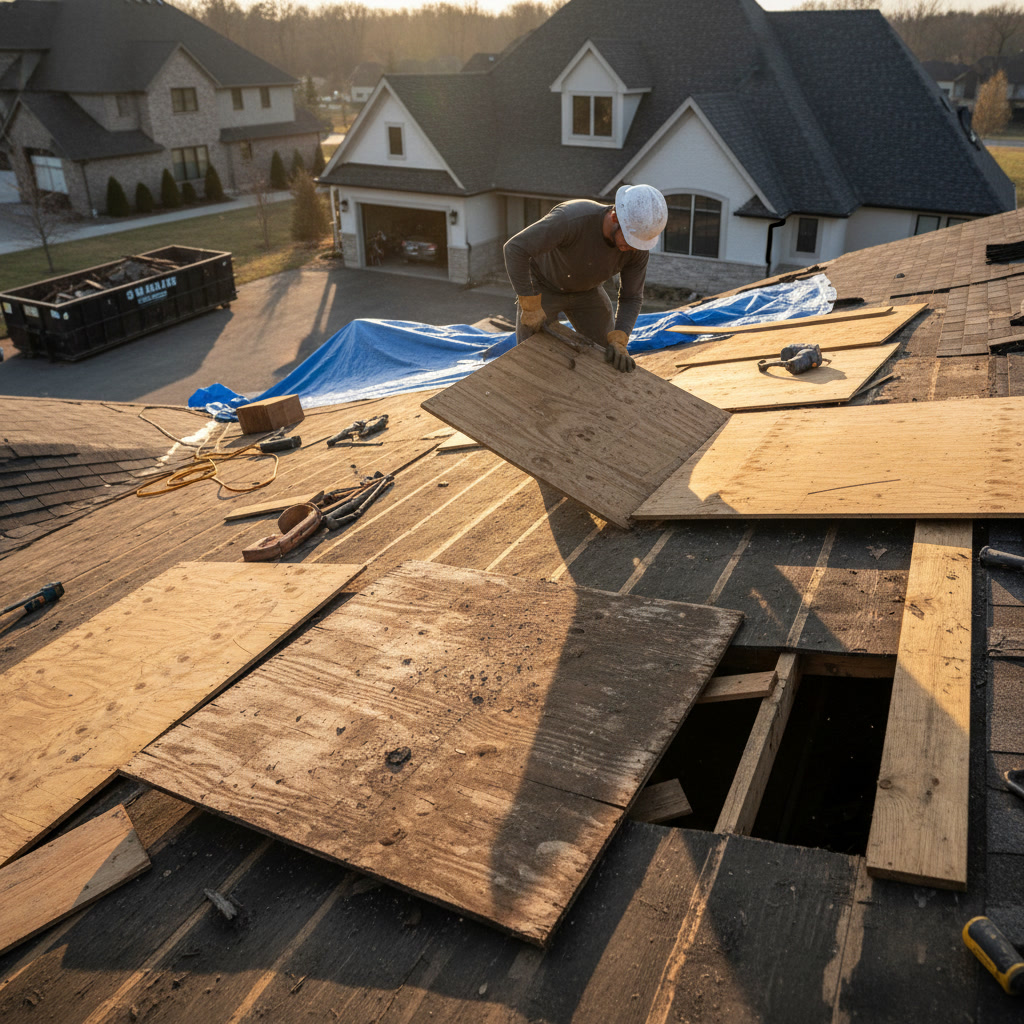
Exposed decking reveals hidden damage invisible during preliminary inspections. Rotted or weakened plywood sections must be replaced immediately to provide stable substrate for new materials. This adds cost but prevents future sagging and premature shingle failure.
Deck Inspection and Structural Repairs in Washington Township
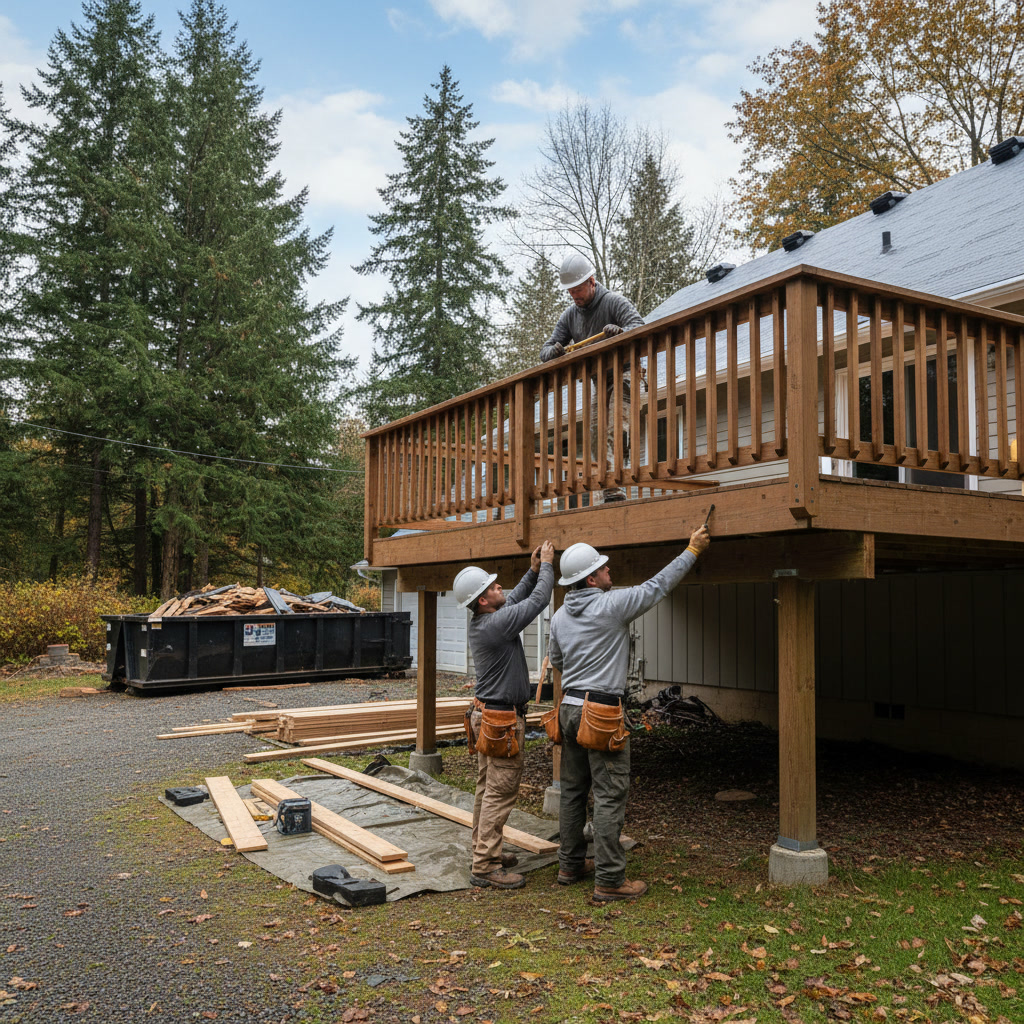
With old materials removed, contractors examine every section of roof decking for moisture damage, rot, and structural integrity. Soft spots indicate water infiltration that compromised wood strength over time. Replacement involves cutting out damaged sections and installing new plywood or oriented strand board matching original thickness, typically half-inch or five-eighths-inch panels.
Local building codes in Washington Township and surrounding New Jersey communities specify minimum deck requirements and fastening patterns. Inspectors verify that decking provides adequate nail-holding capacity and spans rafters properly without excessive gaps. Some jurisdictions require deck inspection and approval before installation proceeds.
Installing Underlayment and Ice Barriers
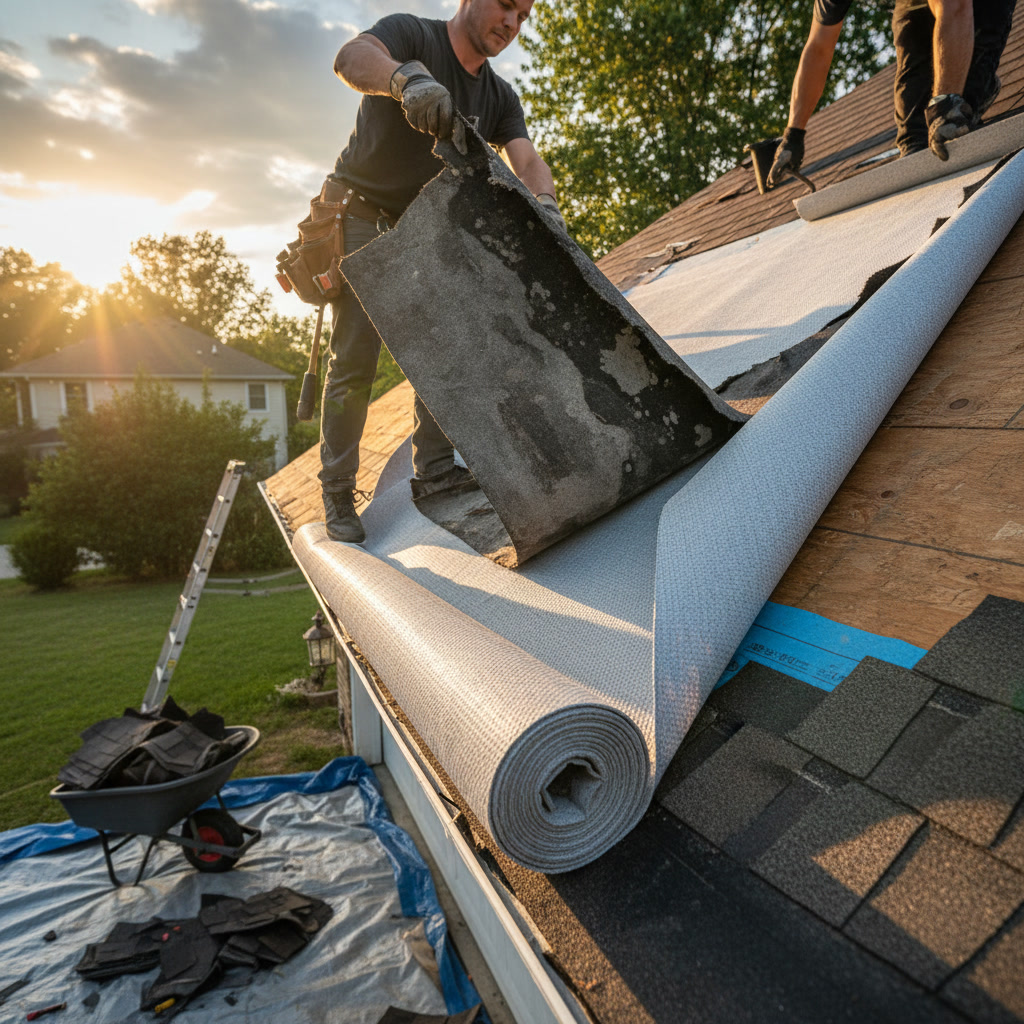
Synthetic underlayment has largely replaced traditional felt paper because it resists tearing, sheds water more effectively, and withstands UV exposure during extended installations. Contractors roll underlayment horizontally across the deck, overlapping seams by six inches and securing it with staples or cap nails spaced according to manufacturer specifications.
Ice and water shield goes on vulnerable areas first: eaves, valleys, dormers, and around chimneys and skylights. This self-sealing membrane prevents water infiltration from ice dams and wind-driven rain. Building codes typically require ice barrier coverage extending at least 24 inches inside the exterior wall line, though many contractors apply it more generously for added protection.
Shingle Installation and Proper Ventilation
Installation begins at the eaves with starter strips that provide a sealed edge and proper overhang. Workers snap chalk lines to maintain straight courses as they move up the roof, offsetting each row to create the staggered pattern that prevents water penetration. Each shingle requires four to six nails placed in the manufacturer-specified zone, typically just below the adhesive strip.
Ridge vents installed at the roof peak work with soffit vents to create continuous airflow that removes heat and moisture from attic spaces. Proper ventilation extends shingle life by reducing thermal stress and preventing ice dam formation. One square foot of ventilation is needed for every 150 square feet of attic space, split evenly between intake and exhaust.
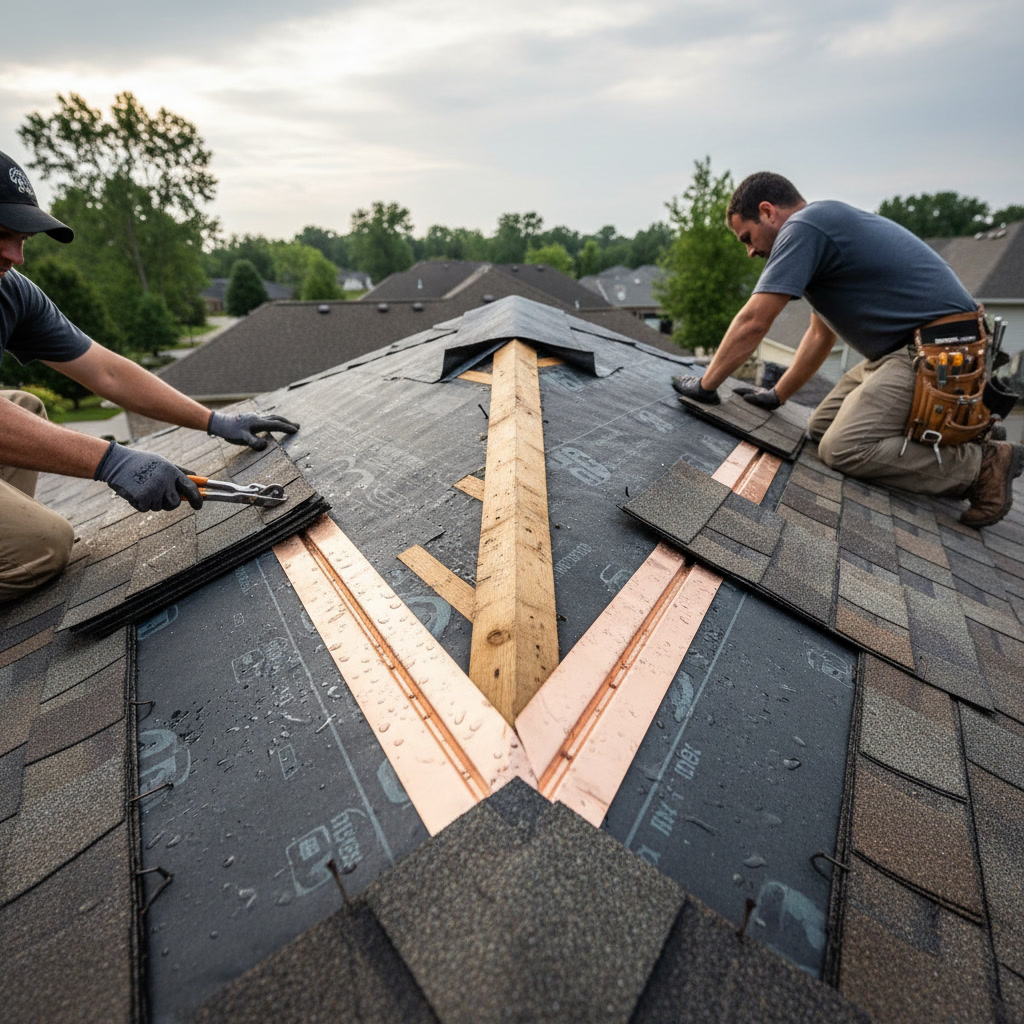
Hip and ridge caps receive special attention because they endure the most wind stress. High-profile ridge caps designed specifically for peaks provide better wind resistance than field shingles cut to fit. Careful installation with adequate adhesive ensures these critical areas remain sealed during severe weather.
Flashing, Valleys, and Critical Details
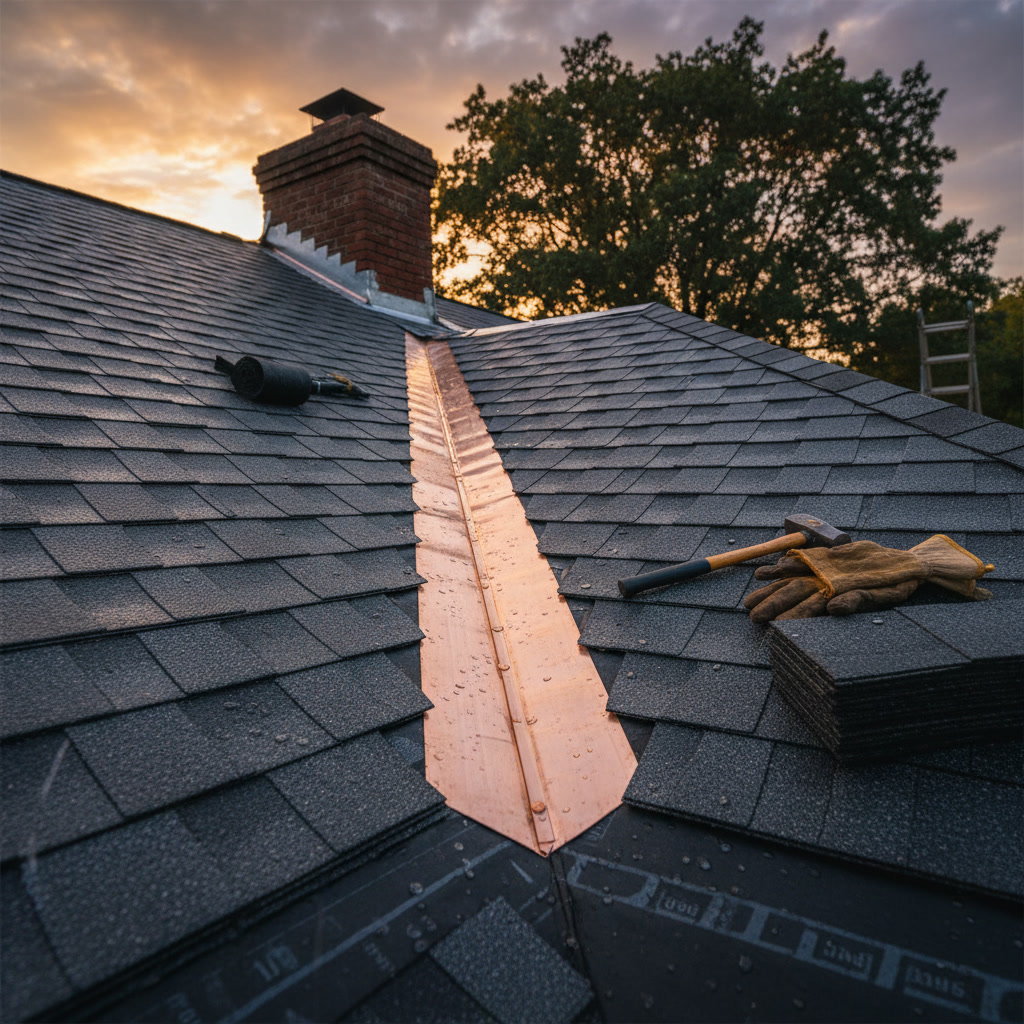
Metal flashing around chimneys, skylights, and wall intersections prevents water from entering at roof penetrations. Step flashing pieces interweave with shingle courses along walls and chimneys, while counter-flashing embeds into masonry joints to create layered protection. Valley flashing uses either open metal channels or woven shingle techniques depending on roof design and contractor preference.
Pipe boots seal around plumbing vents, furnace exhausts, and other roof penetrations. Modern rubber boots with metal bases last longer than all-rubber versions that crack from UV exposure. Each penetration requires careful cutting and sealing to prevent the leaks that commonly develop at these vulnerable points.
Final Inspection and Comprehensive Cleanup
Contractors perform detailed walkthroughs checking nail patterns, sealant application, flashing installation, and overall workmanship before declaring the job complete. Many jurisdictions require municipal inspections verifying code compliance, particularly for ventilation, flashing, and structural modifications. Inspectors issue certificates of completion that satisfy insurance requirements and protect homeowners if future problems arise.
Professional cleanup involves multiple magnetic sweeps of yards, driveways, and adjacent properties. Workers remove debris from gutters, wash windows splattered during installation, and restore landscaping disturbed by equipment. Despite thorough efforts, homeowners often find stray nails for months afterward, making magnetic sweeps with handheld tools a worthwhile precaution.
Understanding Warranties and Long-Term Protection
New roofs typically come with two separate warranties: manufacturer coverage for material defects and contractor guarantees for installation workmanship. Material warranties range from 25 years to lifetime depending on shingle quality, but coverage often prorates over time, reducing claim values as roofs age. Workmanship warranties typically span five to 10 years and cover installation errors like improper nailing or flashing failures.
Warranty terms require proper maintenance and may exclude damage from specific causes like algae growth or impact. Registration within 60 days of installation often extends coverage or adds benefits not available with unregistered systems. Reading warranty documents carefully prevents surprises when filing claims years later.
Protecting Your Investment for Decades
A properly installed roof delivers 25 to 50 years of reliable protection when maintained correctly. The installation phase transforms your home’s weather barrier, but the relationship with your contractor extends beyond final payment. Quality workmanship combined with appropriate materials creates durable systems that preserve home value and family comfort through countless weather cycles.
Stanley & Sons Roofing brings decades of specialized experience to every replacement project in the region, combining traditional craftsmanship with modern materials and techniques. Our certified technicians handle each phase with precision, from initial inspection through final cleanup, ensuring your home receives the protection it deserves. If your roof shows signs of aging or storm damage, contact us at +18562279555 to schedule a detailed inspection and discuss your replacement options.